Changing the timing belt on a Priora (photo report and video)
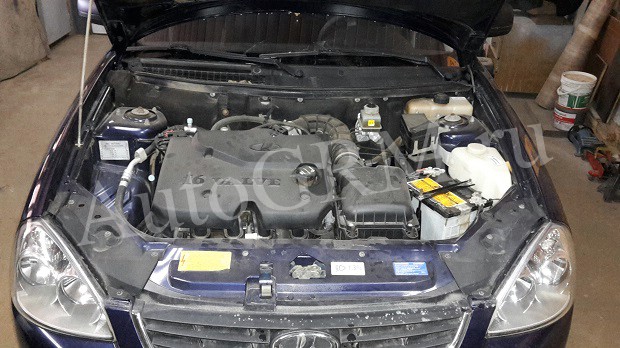
Our neighbor came to us to undergo scheduled maintenance on his fresh VAZ 2170, or Priora in common parlance, to replace the timing belt, oil and other little things.
Various recommendations write intervals from 80,000 to 105,000, but we change to 60,000. We check the tension every 20,000 and this is not our whim, because we all know about the quality of our spare parts. And yet, not everyone knows, but on Priorovsky engines alloy connecting rods are installed and when the timing belt breaks, not only the valves bend, but in most cases the connecting rods as well. And if they are not replaced, the car will have a decent oily appetite. Therefore, it is better to play it safe. The pump was replaced about 20,000 years ago, so we don’t touch it, we’ll just check it by twirling it by hand. For those who are interested in how to replace a pump, look at them, they look like twin brothers.
The tools we will need are: a standard set of keys, hexagons, a set of heads and a special key for the Priora tension roller, it is slightly different in size from the usual one, the price is 100 rubles. But also the timing kit itself.
The timing belt replacement procedure will take approximately two hours with a lunch break.
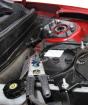
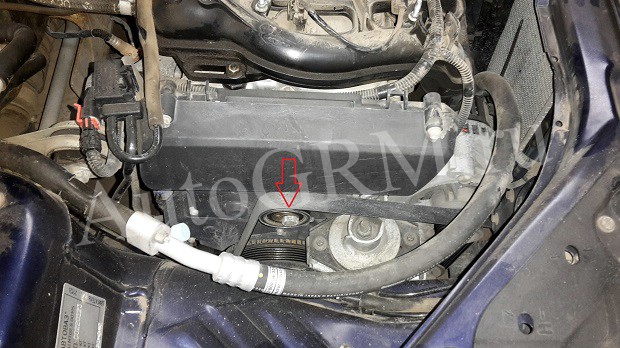
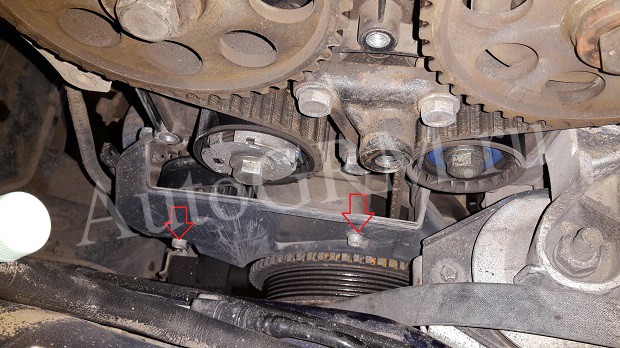
Remove the protective cover, not forgetting to disconnect the absorber purge valve.
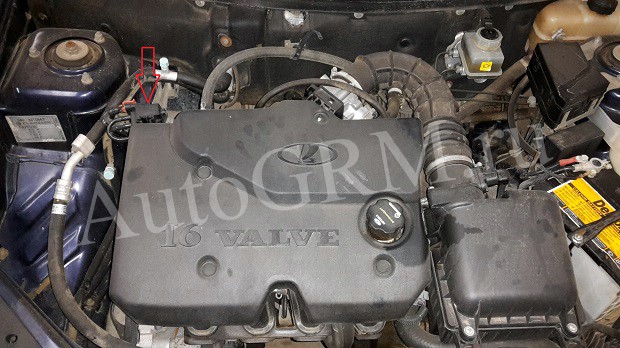
Using a 17mm wrench, unscrew the bolt of the service belt tension roller and remove the latter. It will not be possible to completely remove the belt since the engine mount passes through it and if you want to change it you will have to unscrew it. But it won’t interfere with replacing the timing belt.
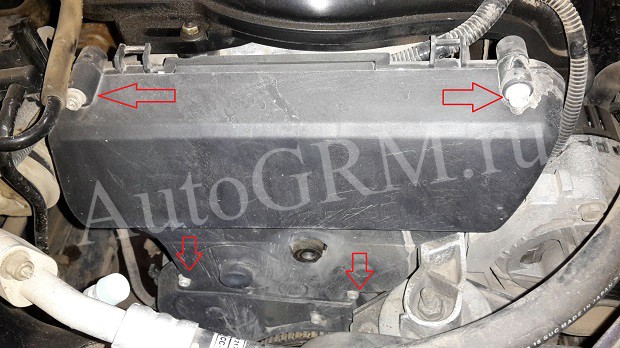
Remove the upper protective cover of the timing belt by unscrewing the four hexagons.
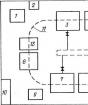
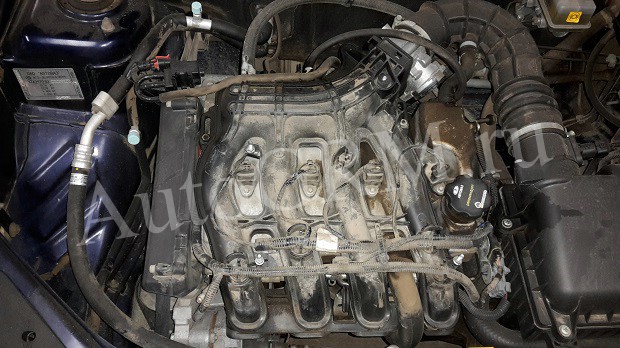
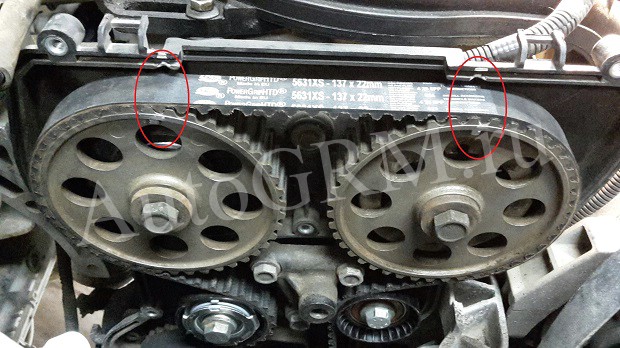
An amazing picture appears before us.
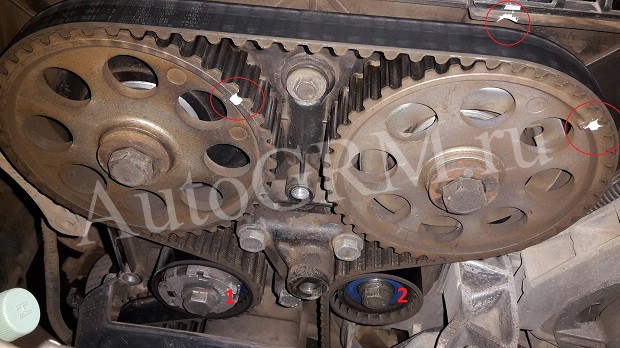
1 – tension roller
2 – deflection roller
We mark the marks on the camshafts and on the protective cover with a clerical touch for convenience. The tension roller is slightly different in appearance from the one purchased, but this is not scary, the principle is the same.
Unscrew the bolts securing the lower timing belt protective cover.
The front right wheel does not need to be removed, but turned all the way to the right. We place stops under the front wheels, turn on fifth speed and unscrew the crankshaft pulley bolt. Turn off the speed.
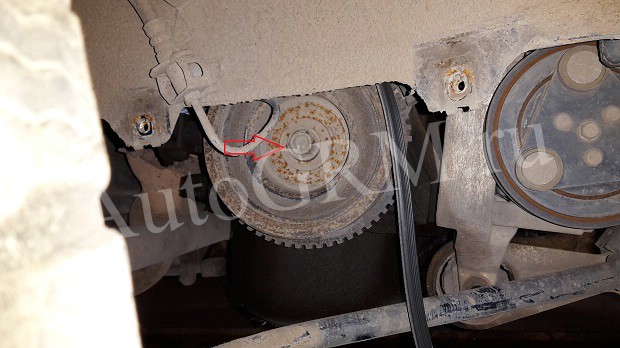
Remove the pulley and the lower protective cover. Remove the metal boot.
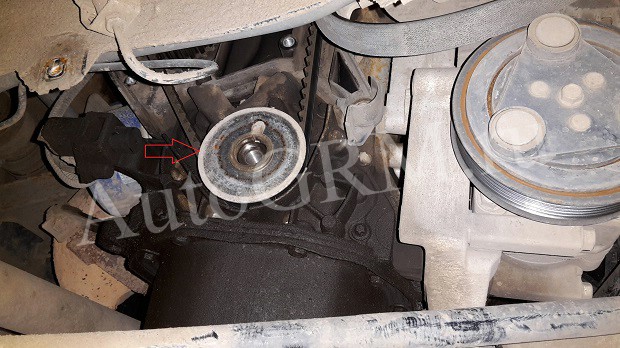
We screw the crankshaft bolt into place and turn the crankshaft clockwise until the marks on the camshafts and the protective cover and the crankshaft marks, the points on the sprockets and the ebb on the block coincide.
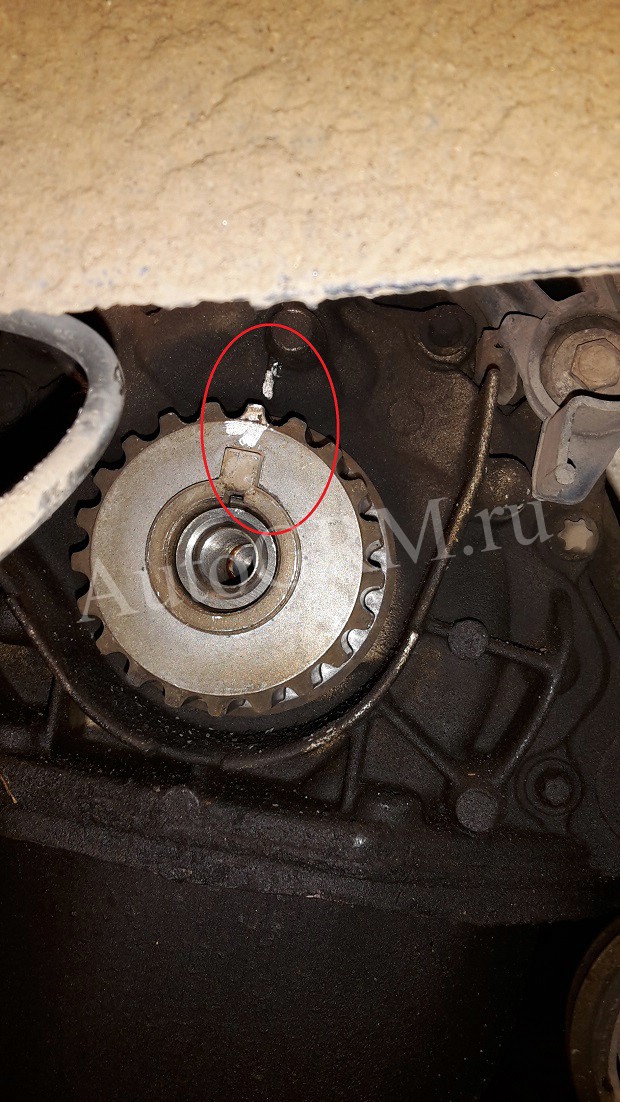
The camshaft marks were photographed after installing the new belt, they simply forgot to take a photo during the replacement process, may the inexperienced reader forgive us for this.
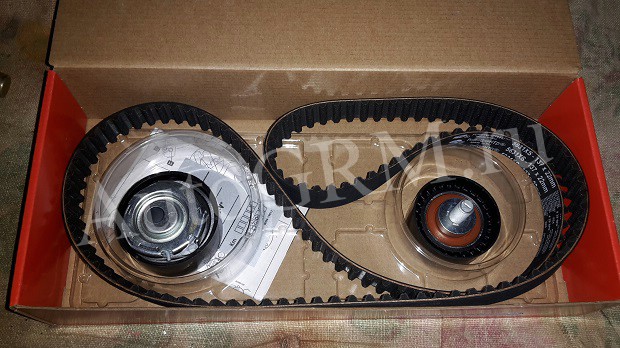
We unscrew the bolts securing the tension and idler pulleys and remove them together with the timing belt. We get a new set.
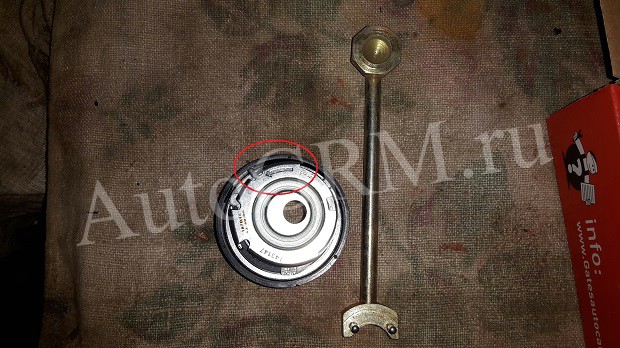
Pay attention to the tension roller; it has a tension direction. Indicated by an arrow. There is also an indicator for the correct tension, more on that below.
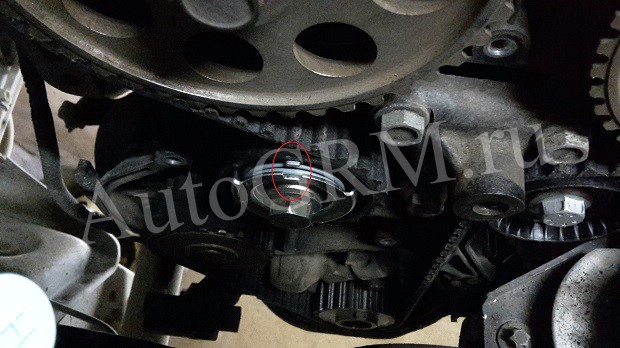
We put on a belt. First on the camshaft sprocket, then on the idler roller, the intake and exhaust camshaft sprocket and the tension roller. The branch between the crankshaft and intake camshaft sprockets must be tensioned. We tighten the timing belt with a roller in the direction of the arrows using a special wrench until the correct tension marks match. That is, when the pointer on the bottom of the roller is opposite the groove on the top. Tighten the bolt.
We check that all marks match. If the marks do not match, remove and reinstall the belt. If they match, then turn the crankshaft two turns and check the marks and tension again.

If everything is in place, install all the parts in place in the reverse order of removal. We start the car. This is how easy it is to replace the timing belt on your Priora in a simple garage or even on the street.