How to replace the transmission on the VAZ?
The gearbox is the most important elements of any car. It is it for obtaining the most efficient operation of the engine and the desired movement speed under various road conditions. In this article we learn how to replace the gearbox on the VAZ 2106. Like it, in what cases it is replaced and how it is removed.
Why change the gearbox
Reasons for replacing the gearbox on the car are quite small, but usually they are a weighty argument when repairing the power of the car. First of all, the replacement of the CAT is carried out in the event of serious faults that are associated with a wide violation of its performance.
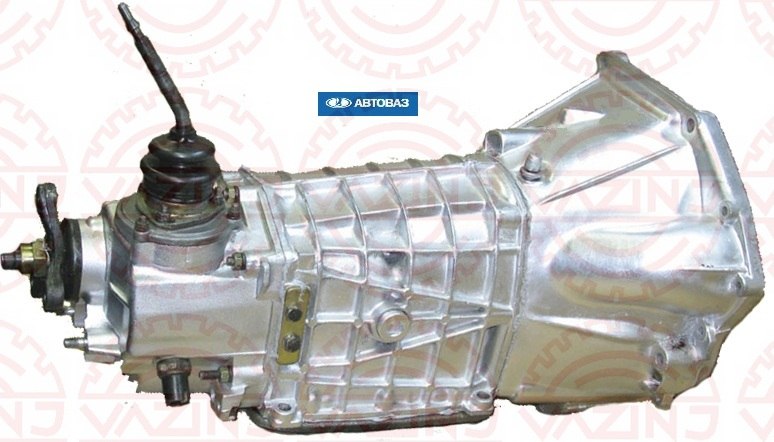
Another reason for the replacement of the checkpoint is an improvement in its work. All lovers of "Zhiguli" are known that the VAZ 2106 was produced in several modifications that have completed 4 and 5-speed gearboxes. Those drivers who got a "six" with a 4-speed gearbox already clearly noticed its essential disadvantages when moving along the highway, so they change this element to a more perfect analog - transmission with 5 speeds.
One way or another, the procedure for replacing the CAT is performed equally, regardless of the reasons for the replacement. Below will be detailed instructions for replacing the CAT.
How to remove the gearbox on the VAZ 2106?
To begin with, install the car on the observation pit, turn on the neutral transmission and set the anti-tottal stops under the wheels. Do not forget to take care of the lighting, it will be needed. To do this, it is recommended to use a portable lighting lamp. Also prepare a standard tool kit.
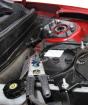
Before performing the removal of the checkpoint, it is necessary to dismantle everything that interferes with its removal. To do this, disconnect the minus battery terminal and pull the reverse flashlight on the gearbox.
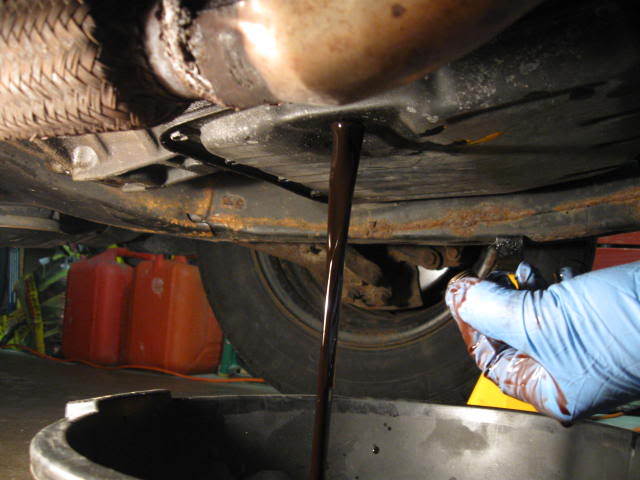
Do not forget . It has nothing to do with the work, but will greatly facilitate the weight of the box. And this is useful to you when removing.
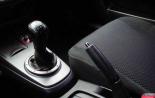
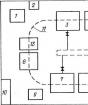
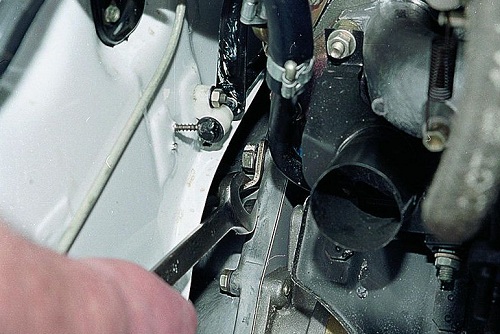
The next to the queue is the gear lever. It is located in the car. To remove it, you need to remove the decorative trim, unscrew the four screws of the attachment of a special metal plate, pull out the protective case and dismiss special clippers. After that, from there the lever is displayed and removed along with the plate. Next, unscrew the speedometer drive cable and hang it up so that it does not interfere.
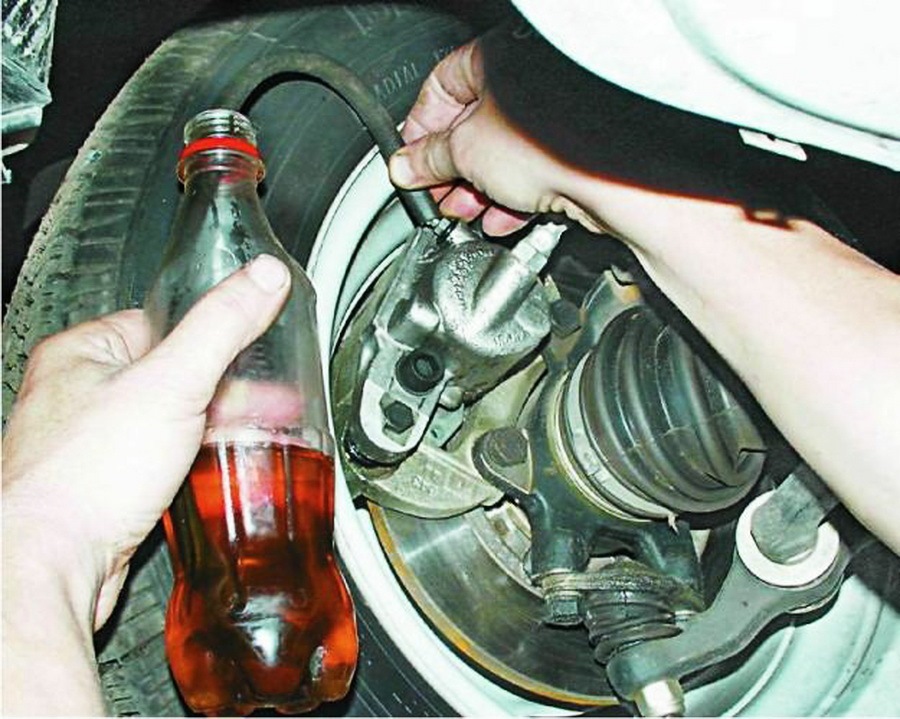
After that, from the clutch drive. To do this, unscrew the tube from the fitting, and put an empty bottle. Unscrew the clutch plug and output it from the gearing with the checkpoint. Next, go down to the hole again and unscrew the receiving pipe. The fact is that it will interfere with dismantling and then increases the likelihood of its damage during the work. That is why it is recommended to simply dismantle it.
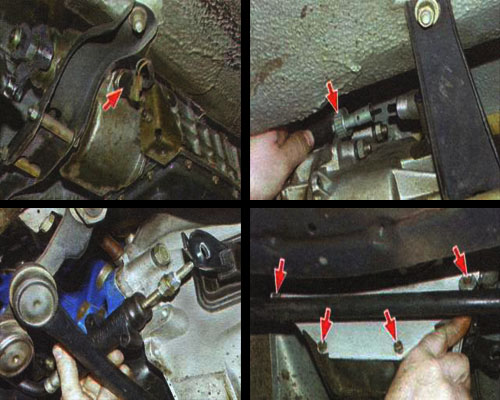
Last but the gearbox box. Raise one of the rear wheels and install the body on the rigid support, for example, a fuken or double stack of bricks. Using a screwdriver, remove the locking mustache located on the front cabinet of the cardan shaft. The same screwdriver move this gland back. Next, using a wrench or ski key, remove the fastening nuts crossbar and remove it. Surely you will interfere with the parts of the exhaust system. If you cannot remove the crossbar, then dismantle all interfering elements. After that, output it from a slotted connection that is attached using an elastic coupling.
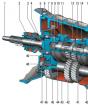
Now you will need the help of a partner. First of all, unscrew the fastening of the gearboxes, then your partner must hold it from falling, and you, at this time, unscrew the cppon fastening bolts to the engine. Once all the bolts are unscrewed, remove the box back and pull out its primary shaft from the crankshaft bearing.
How to install a new gearbox?
As soon as the old one is removed. Speak the engine connection site with the checkpoint. In mandatory, follow the clutch check. If it needs to be replaced, then make it better right now to avoid these difficulties in the future.
Using a partner, install a new gearbox and get it into the engine. It is worth noting that one of the most difficult procedures is the insertion of the primary shaft of the box to the rear bearing of the crankshaft, so you will need a lot of physical strength and some patience. After the box is granted, tighten the knitting nuts to the engine.
Install the crossbar and tighten it. Now the box is securely fixed. At this time, you can already hang individual elements. These include: Speedometer drive, reverse flashlight contacts and clutch drive. After all this "trifle" is installed, you can put a cardan shaft into place. To do this, insert it into the slot of the elastic coupling and the fixing gland is dressed. Next, with a screwdriver and passage, adjust the metal mustache to the gland.
The final stage is the installation of the crossbar and its tightening. After that, you can install the exhaust system and connect the battery terminal